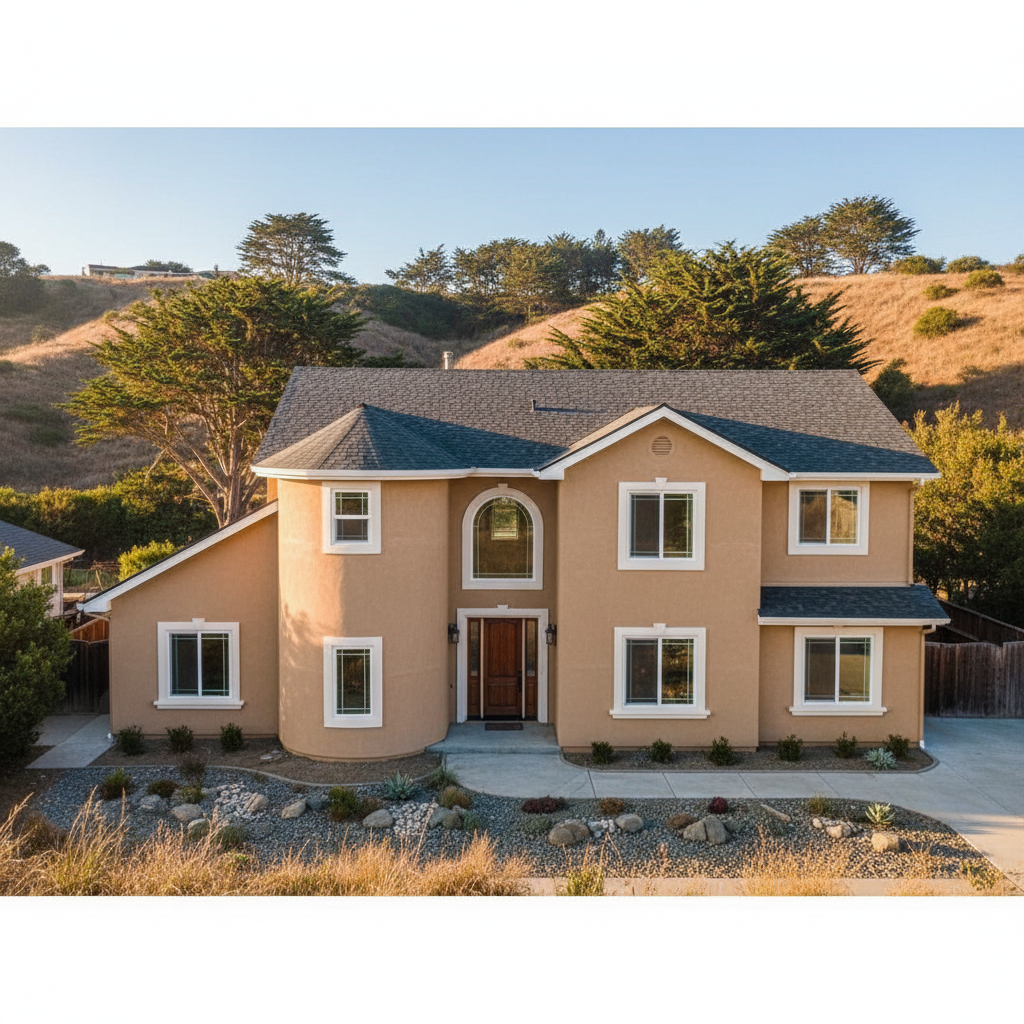
So, you're considering EIFS for your Pacifica home. That's a smart move for our coastal climate, especially with the way that fog rolls in off the ocean and just sits there sometimes. But before you jump in, let's talk about what a project like this really looks like from start to finish. It's not just slapping some material on your walls; there's a process, and knowing it helps you manage expectations and avoid headaches.
What's the Timeline for an EIFS Project?
A typical EIFS installation on a residential home isn't an overnight job. You're generally looking at anywhere from two to four weeks, sometimes a bit more depending on the size and complexity of your house, and of course, the weather. Here in Pacifica, we get those clear, beautiful days, but we also get our fair share of drizzle and wind, which can definitely slow things down. Good contractors will factor that into their estimates, but it’s always something to keep in mind.
The timeline breaks down roughly like this:
- Preparation (1-3 days): This includes setting up scaffolding, protecting landscaping, and making sure the existing surface is ready.
- Insulation Board Installation (3-7 days): The foam boards go up, attached mechanically or with adhesive. This is where the bulk of your insulation value comes from.
- Base Coat & Mesh (3-7 days): A layer of cementitious material is applied over the insulation, embedding a fiberglass mesh for strength and crack resistance. This needs time to cure properly.
- Primer (1-2 days): A primer coat ensures good adhesion for the finish coat and helps with color consistency.
- Finish Coat (2-5 days): This is the final, textured layer that gives EIFS its look. It's often acrylic-based and comes in a huge range of colors and textures.
- Cleanup & Final Touches (1-2 days): Removing scaffolding, cleaning the site, and any minor touch-ups.
Remember, these are rough estimates. A smaller, simpler home might be quicker, while a larger, more intricate design, or one with a lot of trim work, will take longer.
What to Expect During the Process
First off, expect some disruption. We're working on the exterior of your home, so there will be scaffolding, materials, and tools around. Your yard might look a bit like a construction zone for a few weeks. We always do our best to keep things tidy and minimize inconvenience, but it's part of the deal.
You'll also see different stages of work that might look a little rough before they get finished. Don't panic if the insulation boards look a bit uneven or the base coat seems messy. That's all part of the process, and it gets smoothed out and covered by the subsequent layers. Communication is key here; if you have questions about what you're seeing, just ask the crew chief or your project manager.
Access around your house will be limited at times, especially when scaffolding is up. We'll need access to water and electricity. We'll also need a clear path for material delivery and waste removal. It's a busy site, so for safety, it's best to keep kids and pets away from the active work areas.
How to Prepare Your Home for EIFS Installation
Getting your home ready can make the whole process smoother. Here's a quick checklist:
- Clear the Perimeter: Move patio furniture, grills, planters, and anything else away from the exterior walls. We need at least three to five feet of clear space all around the house.
- Trim Landscaping: If you have bushes or trees right up against the house, trim them back. We need room to work without damaging your plants.
- Secure Valuables: Take down any wall hangings, art, or fragile items from interior walls that are directly opposite where work will be done. The vibrations from drilling or hammering can sometimes cause things to fall.
- Address Sprinklers: If your sprinkler heads are close to the house, mark them or turn off your system for the duration of the project to prevent accidental damage.
- Communicate: Let your contractor know about any specific concerns, like a sensitive garden bed you want extra protection for, or if you'll be away for a few days.
Questions to Ask Before Signing a Contract
This is where you protect yourself and ensure you're getting a quality job. Don't be shy; ask everything that comes to mind. Here are some must-asks:
- What's your experience with EIFS specifically? It's different from traditional stucco. You want someone who knows the system inside and out. At Majestic Stucco Inc, we've been doing this for years, and we're certified in EIFS application.
- Can you provide references for EIFS projects you've completed in Pacifica or nearby? Seeing their work and talking to past clients is invaluable.
- What kind of warranty do you offer on the EIFS system and your labor? A good contractor stands behind their work.
- What's the payment schedule? Avoid contractors who demand a huge upfront deposit. A reasonable deposit (usually 10-25%) followed by progress payments is standard.
- How do you handle unforeseen issues, like discovering dry rot once the old siding is off? This is a big one. You need to know the process for change orders and how costs will be communicated.
- What's your plan for site cleanup and waste disposal? You don't want a mess left behind.
- What specific EIFS manufacturer are you using (e.g., Dryvit, Sto, Senergy)? Different systems have different properties, and you want to ensure it's a reputable brand.
- Are you licensed and insured for this type of work in California? Always verify their license and make sure they carry general liability and workers' compensation insurance.
Asking these questions upfront will give you a much clearer picture of what you're getting into and help you choose the right contractor for your EIFS project. It's a big investment, so take your time and do your homework.